The Import CSV tool lets you upload a properly formatted (comma-separated) CSV file containing a list of affiliate links.
These links will be bulk imported for you directly into ThirstyAffiliates.
Please note the following:
– You need to have ALL of the column headers in the CSV file, and they must be in this order:
- Link Name
- Destination URL
- Slug
- Categories (separated by semicolons)
- Images To Download & Attach (separated by semicolons; jpg/png/gif only)
- Geolocations Links (format: AU:http://google.com.au separated by semicolon)
- Autolinker Keywords (separated by semicolon)
– Any categories you specify in your import file that are not found in the system will be created as the links are imported.
– If the destination URL is not valid, that row will be skipped.
– Geolocations URLs and Autolinker keywords will be imported, but will not be active if you do not have those modules enabled.
– If you are importing country specific URLs, please use the two digit country code for your countries as found in the following XML file: Example country codes
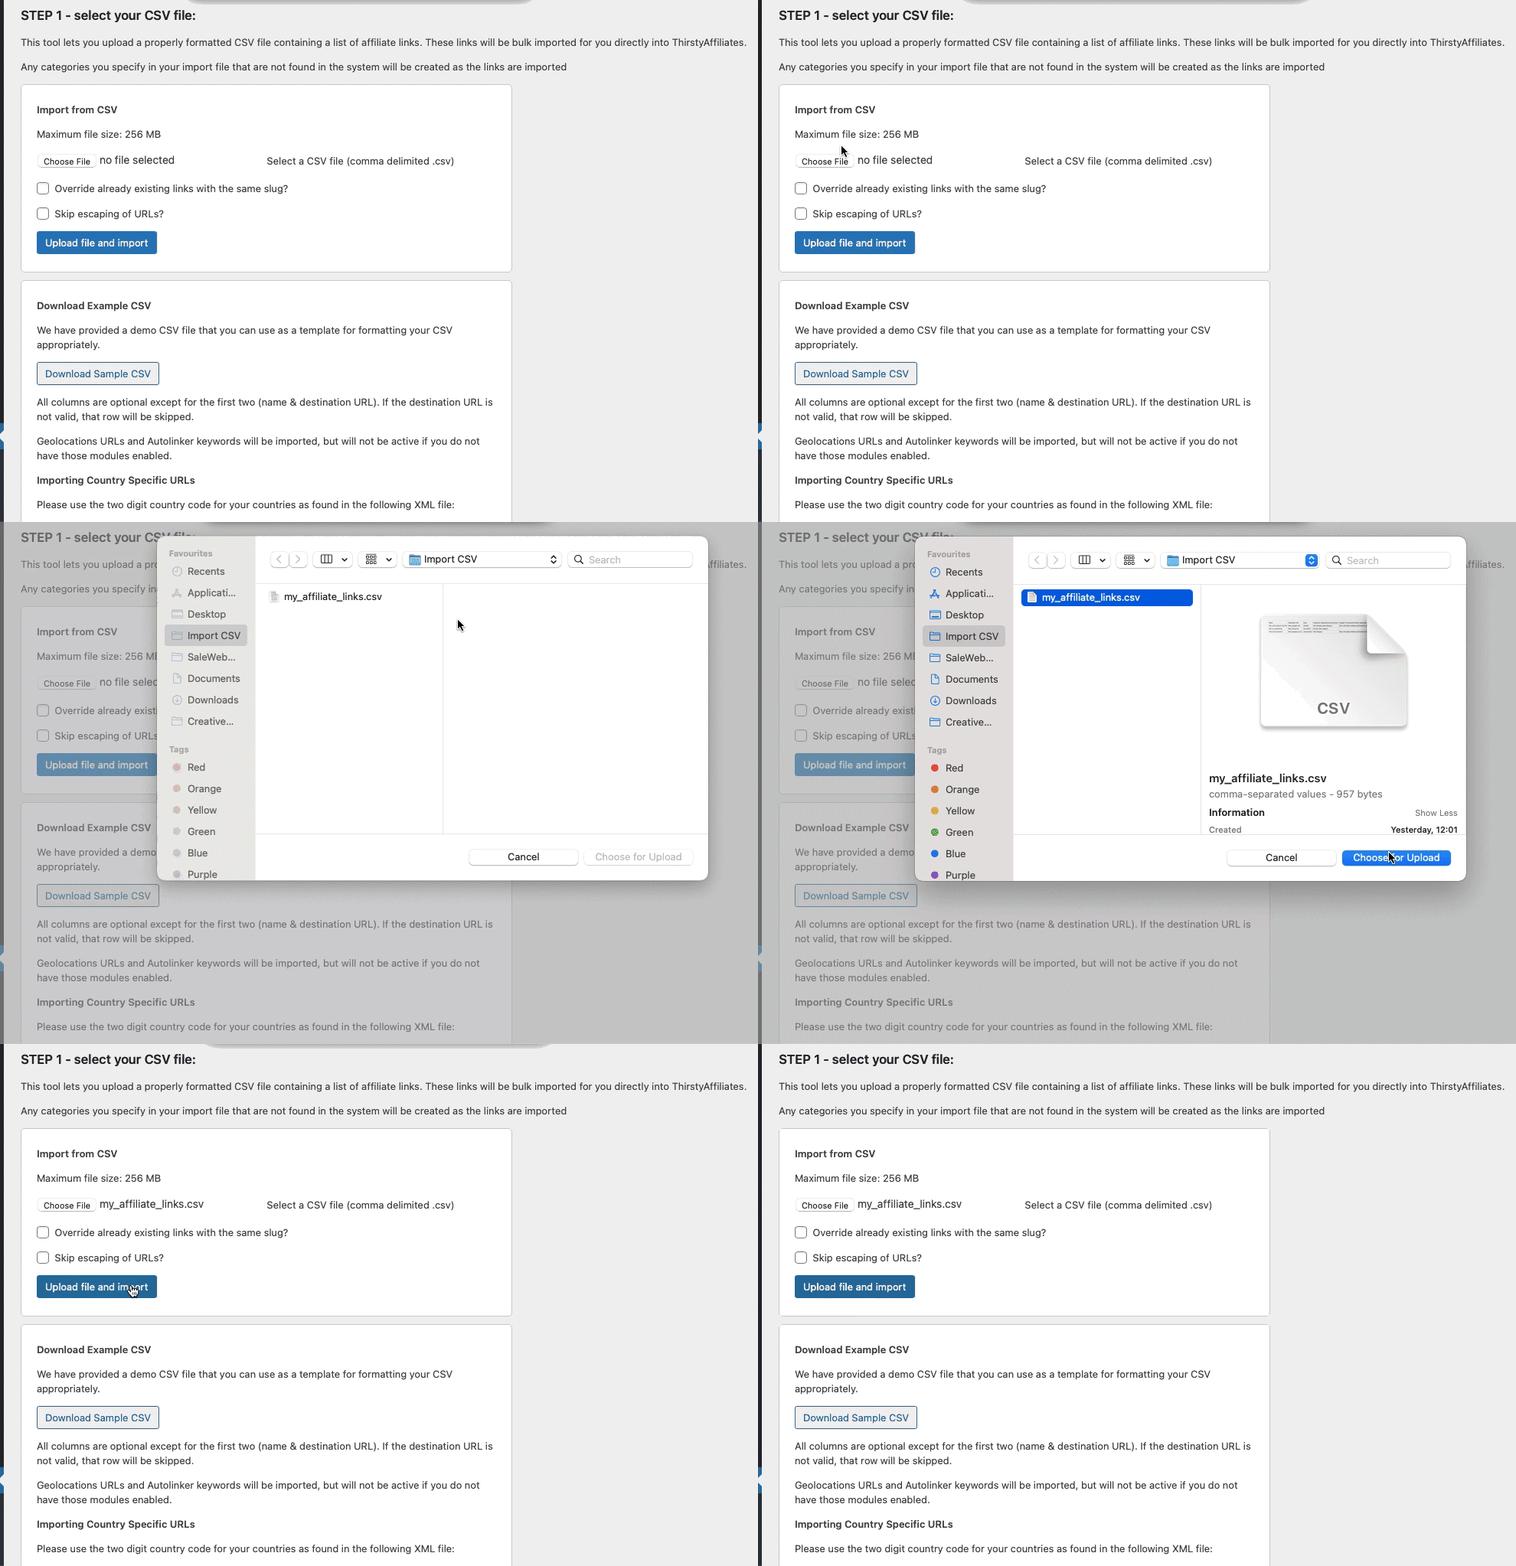
To get started, you can Download Sample CSV and fill in your affiliate links data, which will ensure you have all the right column headers in place, then follow these steps:
- Go to ThirstyAffiliates->Import CSV section:
2. Select your comma-separated CSV file for upload.
3. If you have existing links with the same slug, check the “Override already existing links with the same slug?” option
4. If you want, you can skip escaping of URLs, by checking that option.
5. Once you’re done, click the “Upload file and import” button:
6. If your CSV file was correctly created, the affiliate links will import successfully:
7. That’s it, you can find your newly imported affiliate links under ThirstyAffiliates->Affiliate links section.
8. If you get errors instead, recheck the file and make sure you have all the column headers in place and in the right order.


